Pug and Corgi Cakes with A Cozy Kitchen
Cute Pug and Corgi Cake Tutorials
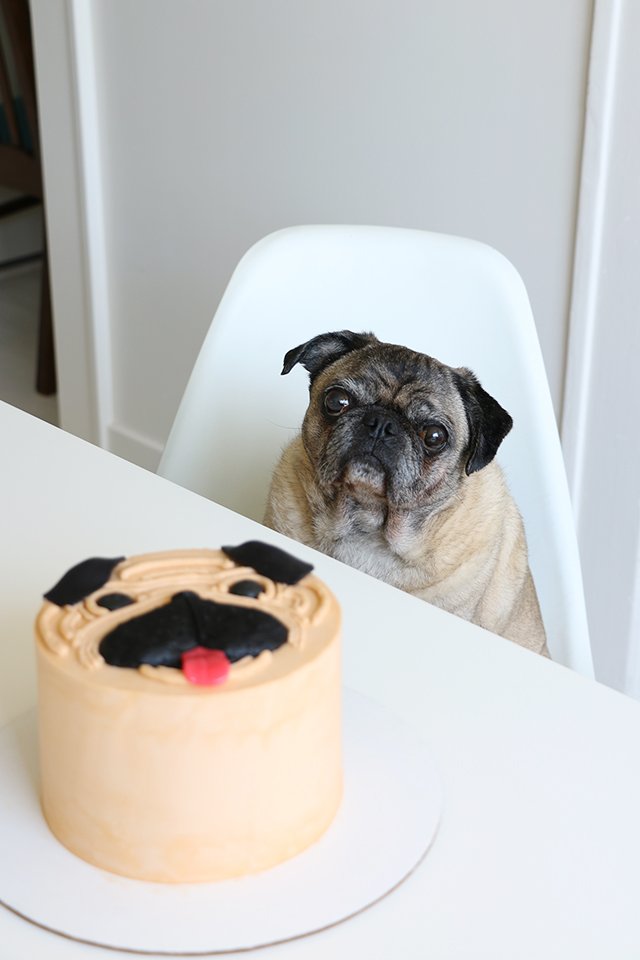
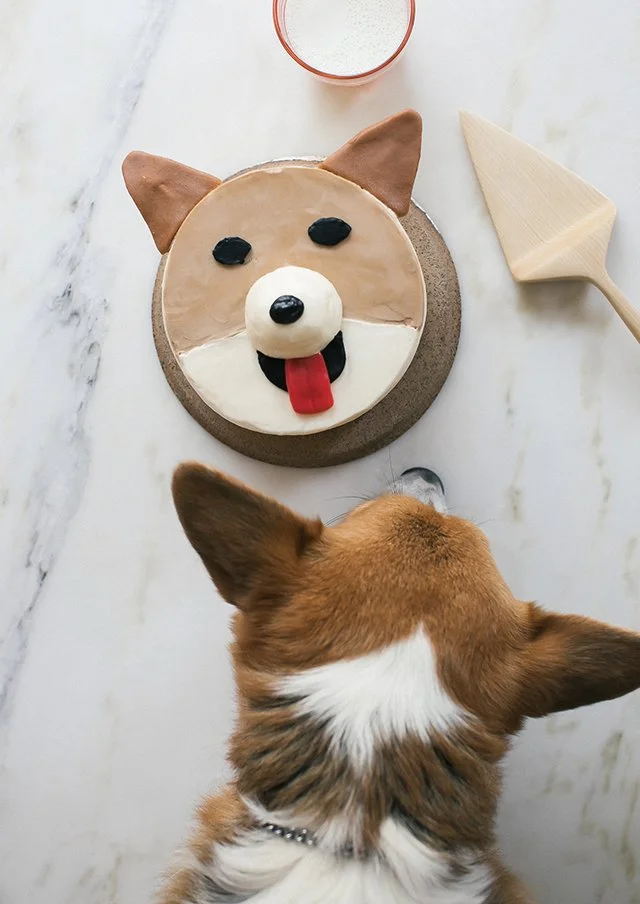
Since moving to LA, I've met the most wonderful, creative women. One of those women is Adrianna of A Cozy Kitchen (you're probably familiar with her incredible cook book). I've always admired her work and beautiful food photos from afar, so at the end of last year I went up to her and introduced myself at an event we were both at (well, I was just attending it and she was signing books at one of the tables! lol). It was then that we realized we were neighbors, both residing in Echo Park! We recently planned a baking / cake decorating day and since we're both OBSESSED with our dogs, it should be no surprise as to where we got the inspiration for each of our cakes. Adrianna made an adorable corgi cake, inspired by her corgi Amelia (Amelia has her own 'gram HERE) and I obviously went with a pug cake, inspired by my pug children Riley and Dylan. Follow along below for a loose how-to and check out Adrianna's site to see how to make the corgi cake HERE. What You'll Need (for the pug cake):
1 round cake, smoothly frosted with tan frosting
Black and tan buttercream frosting, each in a piping bag with a round tip
Toothpicks
Knife
1 cherry Airheads candy
Black fondant
How to Make A Pug Cake
How to Make A Pug Cake
How to Make A Pug Cake
How to Make a Corgi and a Pug Cake
Cute Pug Cake
Love This Pug Cake
Love This Pug Cake
A pug cake
Corgi Cake
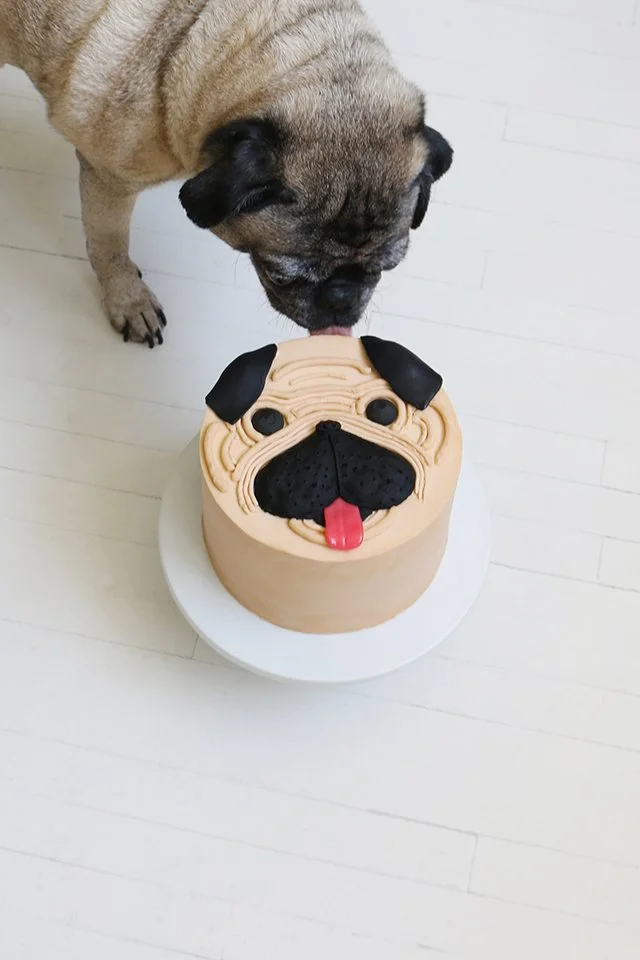
Step #1: Once you've smoothly frosted your round cake, make faint lines with a knife or a straightedge to help you keep your cake proportionate. This is optional, but I always find that it helps A LOT when I'm decorating a face atop my cakes.Step #2: With black frosting, pipe an upside down heart shape on the lower half of your cake to create the pug mouth. Fill it in so that it has a bit of depth to it. As you can see, I also added two little dots just to space out the eyes at this point. Once you have the mouth on, place the cake in the fridge or freezer to allow the frosting to set. Step #3: Now that the frosting is chilled and firm to the touch, use wax paper or your finger to smooth it out. Use a toothpick to add the little whisker holes. Pipe on your eyes with the black frosting and add some initial lines (wrinkles) of tan frosting around the mouth. Pipe on a little black U-shaped spot under the mouth for the lip and pipe on a small oval-shaped piece at the top of the mouth for the nose. If you look closely in the below photo, you can see that I've also cut and shaped two small black pieces of fondant into ears. I let them set on a silicone rolling pin (one of my favorite tools) to firm up while I continued working on my cake.Step #4: Next, use a cherry flavored Airheads candy (or any pink/red taffy-esque candy) for the tongue. Using a knife, cut the tongue shape to size and add an impression for the line down the center of the tongue. I didn't snap a photo of this step, but you can see it in Adrianna's cake below!Step #5: Lastly, add on some more wrinkles with the tan frosting and then position your fondant ears onto the cake. If needed, you can always add a little frosting under the ears to help shape them! If you make this cake and have a pug, make sure to snap some photos of your dog next to it for ultimate cuteness. But be careful - Riley got a little too close to my cake in one of the photos and got one lucky lick (see below) before I took it away. Also, how cute is this shot Adrianna got of Amelia checking out her mom's finished masterpiece?! What a fun day of cake decorating that was! Hope you all enjoy the photos as much as us proud dog moms do! If you liked this post, you'd probably be interested in my Dog Cupcakes, these fondant Pug Cupcakes from way back when, or my Cat Cake.


